HOW TO MAKE AN ANDROID CHAT APPLICATION USING APP INVENTOR AND GOOGLE FIREBASE DATABASE
MAY 25 2018
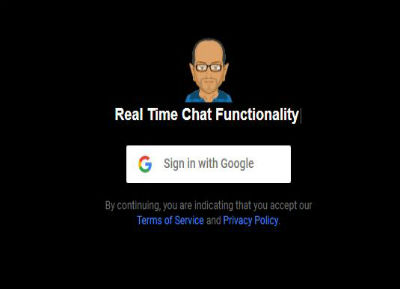
Have you ever wondered how chat applications are made? Today is your lucky day because I'm going to teach you how to create one! In order for us to make a realtime chat application we are going to need to store data into a database, and then we are going to retrieve that data. That's how a chat applicaton works, we push and pull data from a database.
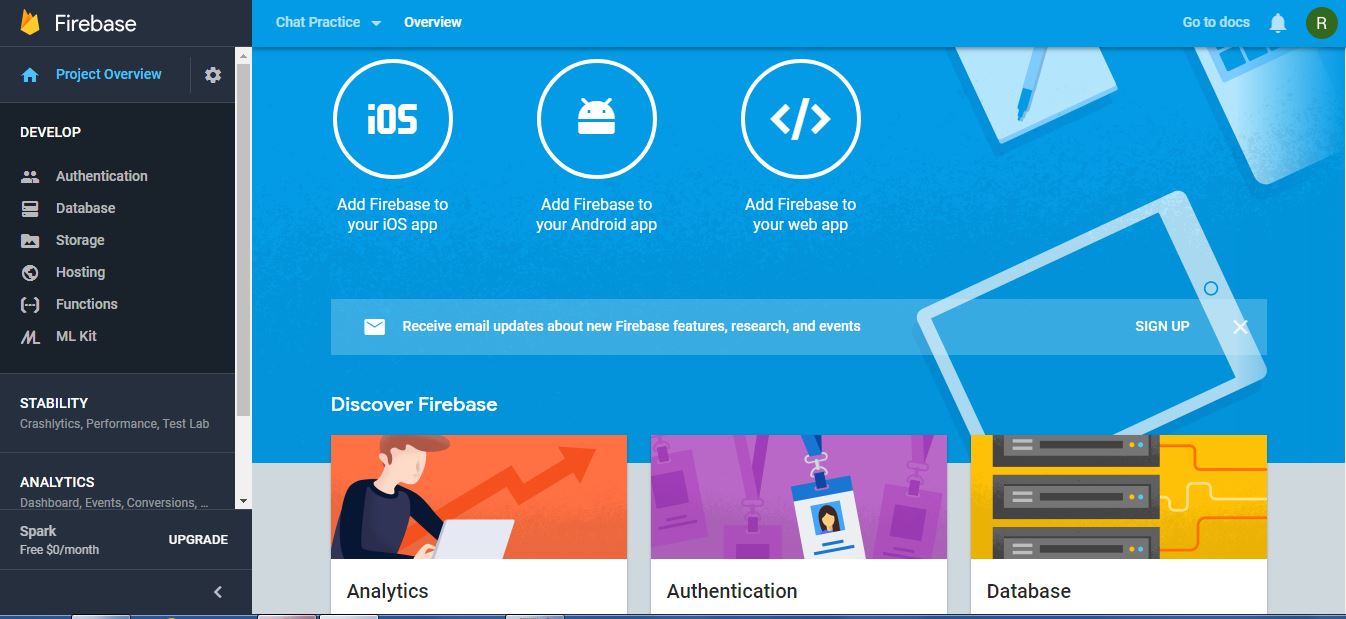
First, you'll need to sign up for a google firebase account. Next, create a new project, once you enter your database right above it you will see your firebase url, copy and save that. Next, go to your firebase settings and copy and save your firebase project web api key. Thats it, you are done.

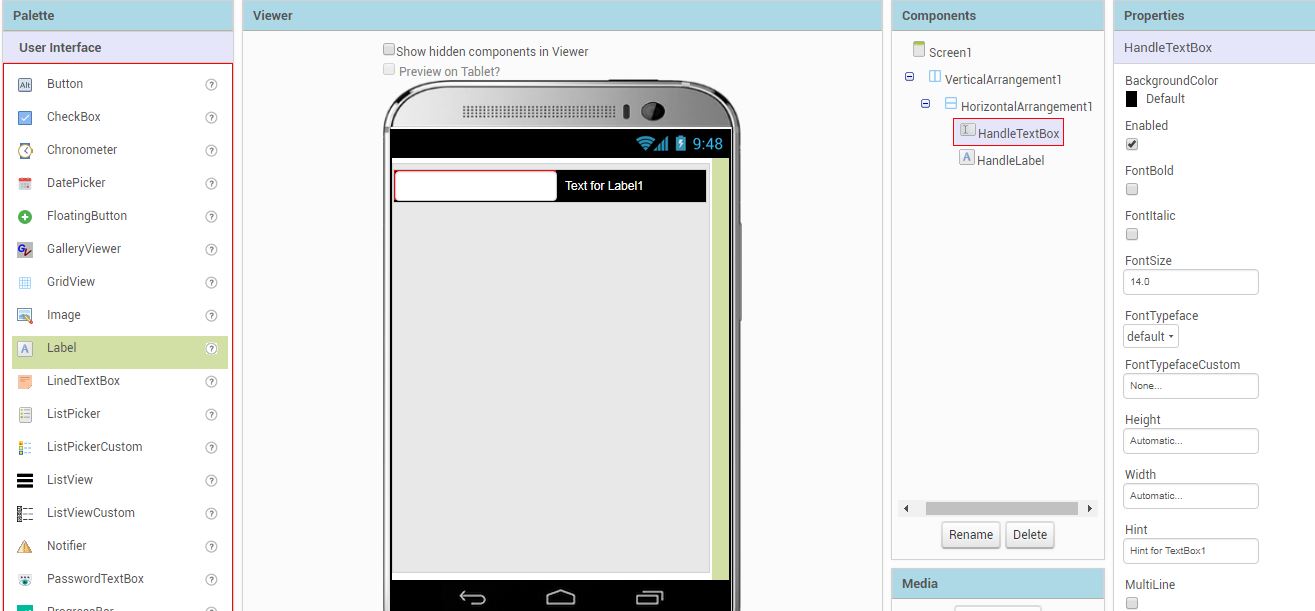
Next, head over to the app inventor and create a new project. After you have created a new project, let's get started on laying out our components we are going to need. First we will need a vertical arrangement, set this vertical arrangement to height = fill parent and width = fill parent. Now, grab a horizontal arrangement and put it inside the vertical arrangemet and make the width = fill parent. Inside the horizontal arrangemet add a textbox. I want you to rename the textbox to Handletextbox. Next to the Handletextbox I want you to add a textlabel and let's rename it to Handlelabel. Ok, if you have done this correctly your app should look something like this.
Next, I want you to add a verticalscrollarrangement underneath the horizontal arrangement. Set the width = fill parent and set the height to = fill parent.
Inside of this I want you to add a textlabel. Rename the textlabel to DataTextLabel. Yes, the data we push and pull from the firebase database will come through this lable.
Next, I want you to add another vertical arrangement underneath the veticalscrollarrangement and set the width = fill parent. Inside the
vertical arrangement add a textbox and rename it MessageTextbox. Set the height to 80 pixels and set the width = fill parent. For this component check the multiline checkbox.
Next, I want you to add a horizontal arrangement in the vertical arrangement underneath the MessageTextbox. Inside the horizontal arrangement I want you to add
a textlabel, button, textlabel, button, textlabel in that order! I want you to set all three labels width = 1 pixel and height = fill parent and set the background
to all three textlabels to the color white. Erase all the text to these three textlabels. We did this to add padding to the two buttons we added so they are not sticking together.
Now set each buttons width = fill parent. Change the name of the first button to Messagebutton and change the name of the second button to ClearMessage. Now change
the text of the first button to Send Message and change the text of the second button to Clear Messages. Now we need to add a few more components to make all of this work. We
will need a notifier component, a clock component, a firebase component, and a sound component. For your firebase component do your remember the project url and api key you saved.
if so put them here.  This will connect your app to the firebase database. For the sound component upload your
own mp3 notification sound that's about one second long. I used a star trek computer notification sound!!! The easy part is over, This is how your app interface should look now.
This will connect your app to the firebase database. For the sound component upload your
own mp3 notification sound that's about one second long. I used a star trek computer notification sound!!! The easy part is over, This is how your app interface should look now.

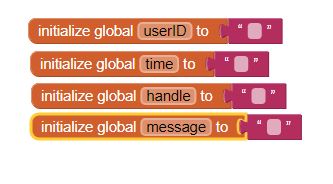
Click the blocks button and let's hack all these things together! We will start by creating four variables, userid, time, handle, and message. Your blocks should look like this.
Now we create a function called sendData, but in app inventor we call it a procedure. We are going to set the userid varible to your phone system time. This will give users a unique ID so google firebase doesn't overide the data. We are going to set the time to your phones clock, this is optional. Next set the handle variable to Handletextbox, set message to MessageTextbox. Now we need to store all those variables into the firebase database. We need three firebase store value blocks. We set our userid variable to each tag. Then we store value to store time, handle and message variables. After the user clicks the button to store the data we want to set the Handletextbox visible to false and set MessageTextbox text to an empty textstring to clear the sent message. The last thing we need to do to our function/procedure is to hide the keyboard. Your code should look like this.

Now we grab a firebase datachanged block to return the data you entered instantly. This will also change instantly for all the other users. Set the DataTextLabel to join a text string block. You will need three text strings. Set the first text string to DataTextLabel Text. Set the second text string to two \n\n. This means you are going to store each value you are returning to a new line. When you use two of these you are also giving some extra space inbetween those new lines so it's readable. On the last text string store the datachanged value into it. Your blocks should look like this.

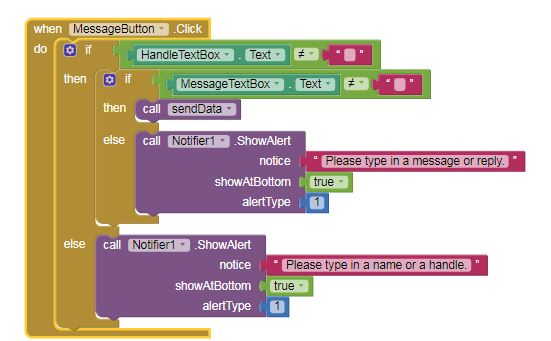
Lastly, we need to program our last two buttons. The Send Message button needs to be validated to ensure each textbox inputs actually have text before the data is sent to the firebase database. Grab the message button on click, then grab a if else block. Grab two equal blocks from the logic section. We also need two empty text strings. Snap the equals text block into the if else block, then snap the Handletextbox text into the first empty slot. Then snap the empty string inside the second empty slot. We are telling the computer if this textbox is not empty then run this function/procedure. If it is empty we want to call the notifier and tell the user to put information into the inputs. For the else put in a show alert from the notifier component and type in whatever you want to tell the user of the app. Do this twice for both textboxes. Next grab the Clear Message on click block and put in the DataTextLabel Text and set it to a empty string. This will clear all the messages once the button is clicked. This will only clear messages from the app and not the database. You can program a master app to delete data from the database from the app. Otherwise, you need to delete the data from the database manually. This is what your blocks should look like.
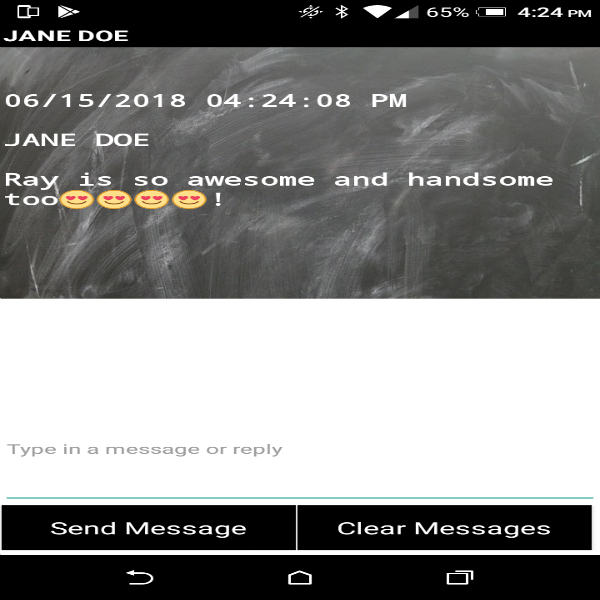
All done, now lets test out our chat application!


If you close the chat application and reopen it you will lose your user name and will have to re-enter it. To avoid this you can save the user name to your phones memory using the tinyDB component. Just save the variable name to the tinyDB right underneath the name variable.

Now go to your screen component and grab a when screen initalizes block and set HandleTextbox Text to get TinyDb get value tag to what is holding the name variable. Now when your users open and close the app they will always have the same user name unless they decide to change it.

One more thing, in the database photo you can see that my security rules are set to public and that anyone can read and write to my database. The only way that anyone can do this is if you give them your database url which is the part I blacked out. A bored code ninja can get it with very little effort which normally doesnt happen. To avoid taking the chance you can authenticate your database.